
My closet used to be a landfill for trends. I bought the thing, wore it twice, and called it a lesson. So when I decided to make one piece for the nursery that would outlast every micro-trend, crochet won. One ball of self-striping yarn, a few evenings, and a blanket I actually reach for.
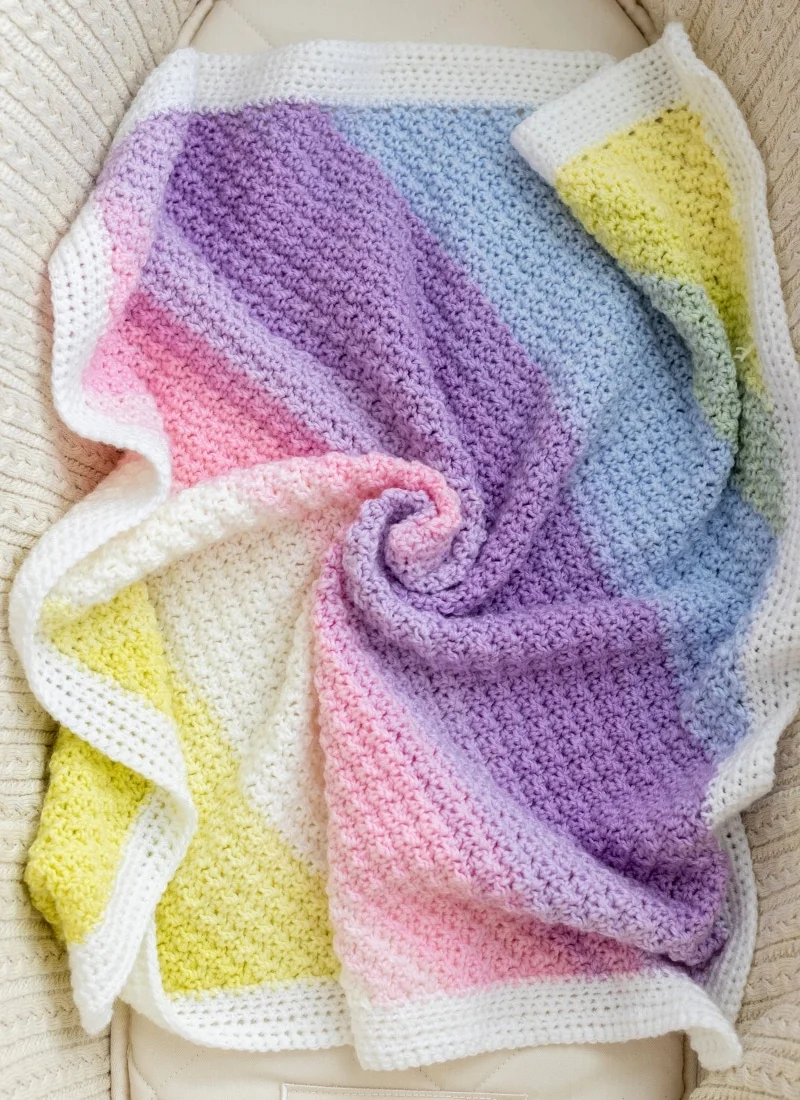
Here’s the part that sold me: a corner-to-corner (C2C) blanket is worked diagonally from the bottom corner to the top corner. No big square to wrestle with, no swatches that never end. There’s only one row to repeat per section, and the suzette stitch variation makes the fabric dense enough for a baby blanket, soft enough to keep against the cheek. It’s the kind of project that reads intentional, not expensive.
What makes C2C different from a regular blanket?
The classic C2C stitch is the block stitch — little squares built from three double crochet stitches. I swapped it for a variation of the suzette stitch instead: you alternate single crochet and double crochet, working sc on top of sc and dc on top of dc. The texture is closer to a dense cable than a flat square, and it’s reversible, so there’s no wrong side.
The whole blanket is two sections. That’s it.
Section one: grow the triangle
You start in the bottom corner and work diagonal rows, adding an increase at each row end so the blanket grows in length and width. When you stop, you’ll have a triangle.
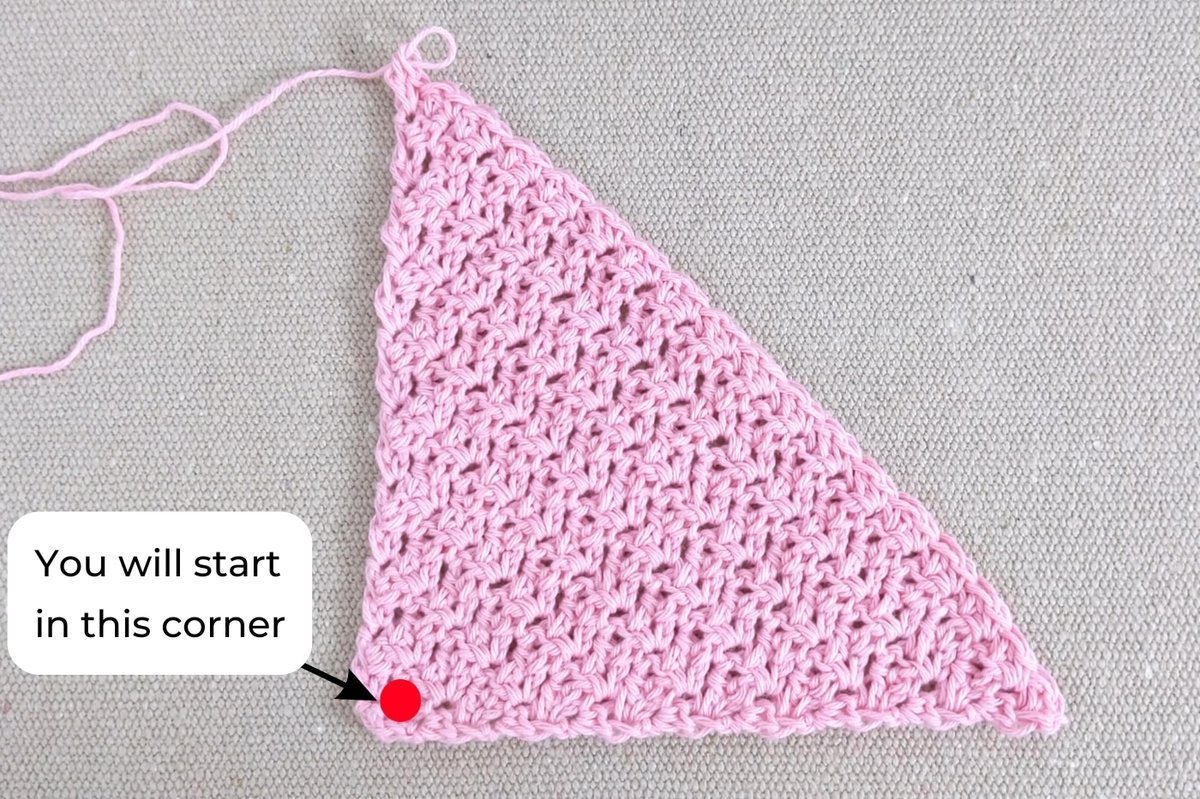
I used just under half the weight of my yarn cake for this section — when the side measured 21 inches, the ball weighed about 77g on my kitchen scale.
Section two: turn it into a square
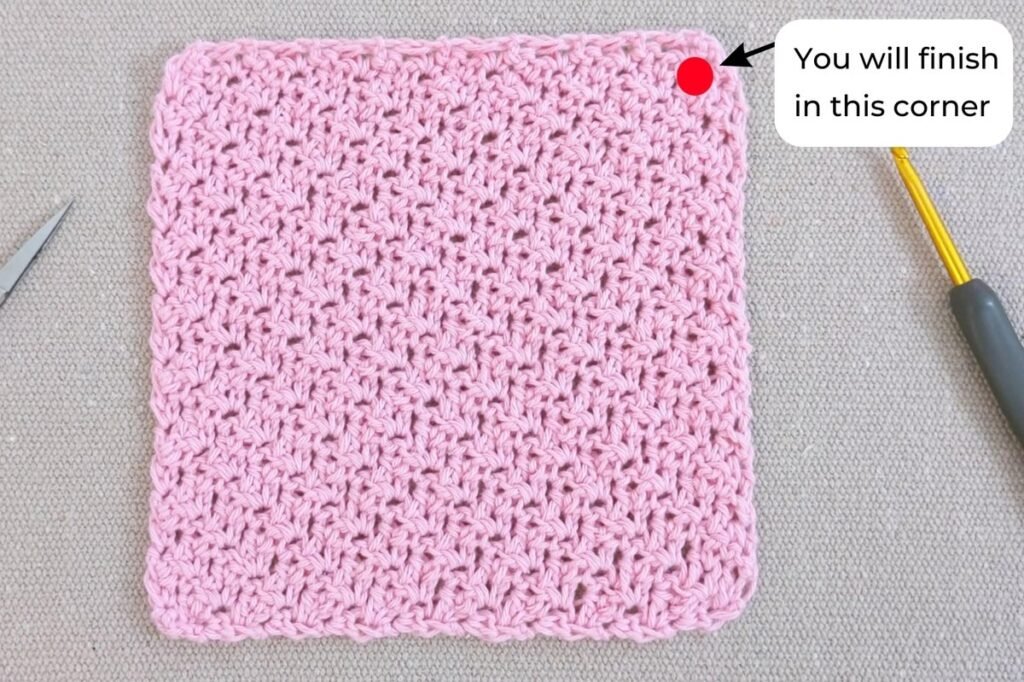
Now you do the opposite: decreases at each row end pull the triangle back into a square. You finish working in the top corner.
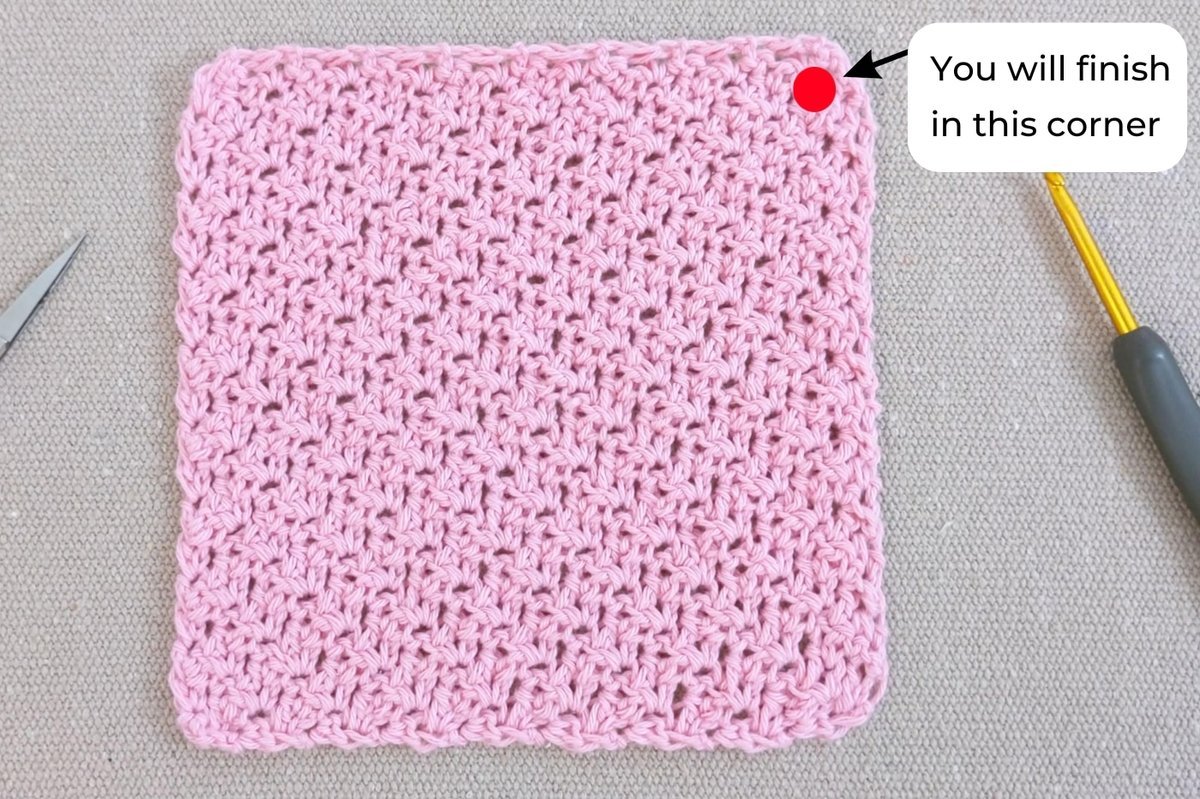
Once you’re over the first section, section two is pure autopilot. I had it done before the next day’s coffee got cold.
Yarn: one ball, zero ends to weave
I used one 150g (5.3oz) ball of self-striping Sirdar Snuggly Pattercake in Sweet Dreams (754) — a weight 3 / DK / light worsted / 8 ply acrylic-nylon blend made for baby skin, which machine-washes and dries without pilling into a felt. If you’re in the US and can’t find it, Lionbrand Mandala Baby is the closest match: soft, color-changing, same weight.
The self-striping does the design work for you. Apart from the beginning and end, there are no color-change ends to weave in, and because you’re working diagonally, the color transitions hide beautifully in the texture.
For the border I used a single 100g (3.5oz) ball of Stylecraft Special DK in White (1001). Any solid DK works — pick something that lets the striping pop.
How to read this pattern
New to US crochet abbreviations? Quick map before you start:
- ch — chain
- sc — single crochet
- hdc — half double crochet
- dc — double crochet
- sc2tog — single crochet two together (an sc decrease)
- sl st — slip stitch
- * to * — repeat the instructions between asterisks as directed
- ( ) — stitches worked in one stitch or space
- [ ] — total stitch count at end of row
One habit that saves headaches: the ch1 at the start of each row does not count as the first stitch of that row.
Supplies
- Yarn A: 1 ball (150g / 5.3oz, 498m / 545yds) — weight 3 / DK / light worsted / 8 ply. I used Sirdar Snuggly Pattercake, Sweet Dreams (754); substitute Lionbrand Mandala Baby
- Yarn B: 1 ball (100g / 3.5oz, 295m / 323yds) — weight 3 / DK / light worsted / 8 ply, solid. I used Stylecraft Special DK, White (1001)
- H (5mm) crochet hook — go one size up from the ball band if your tension runs tight
- Scissors, yarn needle
- Optional: 2 stitch markers, kitchen scale
Gauge & finished size
- Gauge: 11 rows = 4″ / 10cm on each side (vertically and horizontally)
- Finished size: 24″ × 24″ / 61cm × 61cm
- Level: easy–intermediate (comfortable with dc and decreases)
Pattern notes
- US terms throughout. The pattern is reversible.
- With a self-striping cake, pull from the center of the ball.
- Weigh your yarn cake on a kitchen scale before starting — it tells you when to switch sections.
- If you run out of yarn near the end of section two, continue in a complementary solid or use your border yarn.
Section one (increase rows)
With Yarn A:
Chain 2.
Row 1. 2sc in 2nd ch from hook (work through both loops or in back bump), TURN [2 sts].
Row 2. Ch1 (does not count as your first st here and throughout), (1sc, 1dc) in same st (at base of ch1), (1sc, 1dc) in last st, TURN [4 sts].
Row 3. Ch1, (1sc, 1dc) in same st (at base of ch1), 1sc in next st, 1dc in next st, (1sc, 1dc) in last st, TURN [6 sts].
Row 4. Ch1, (1sc, 1dc) in same st (at base of ch1), *1sc in next st, 1dc in next st*, repeat from * to * until last st, (1sc, 1dc) in last st, TURN [8 sts].
Repeat row 4 until the side of your blanket measures 21″ / 53cm (along either side). With a self-striping cake you should have just over half the weight of the ball left when you stop — I stopped at 21″ with the ball at about 77g. Your blanket is now a triangle.
Section two (decrease rows)
Now you turn the triangle into a square.
Next row. Ch1, 1sc2tog, *1dc in next st, 1sc in next st*, repeat from * to * until 2 sts remain, 1sc2tog over last 2 sts, TURN.
Repeat last row until you have 4 sts left.
Last row. (1sc2tog) twice, [2 sts].
Cut yarn, fasten off, and weave in ends.
Border (5 rounds)
With Yarn B, attach yarn to any corner of the blanket.
Round 1. Ch1, (2sc, ch2, 2sc) in same st (at base of ch1), sc evenly around all 4 sides, working (2sc, ch2, 2sc) in the remaining 3 corners, sl st to 1st sc to join. DO NOT TURN.
Rounds 2–4. Ch1, 1hdc in same st (at base of ch1), 1hdc in each st around the blanket, working (2hdc, ch2, 2hdc) in each ch2 corner sp, sl st to 1st hdc to join. DO NOT TURN.
Round 5. Ch1, 1sc in same st (at base of ch1), 1sc in each st around the blanket, working (1sc, ch1, 1sc) in ch2 corner sp, sl st to 1st sc to join.
Cut yarn, fasten off, and weave in ends.
That border is the difference between “nursery project” and “the blanket everyone asks about.” Five easy rounds, and the white frame makes the self-striping colors pop instead of muddying into the background.
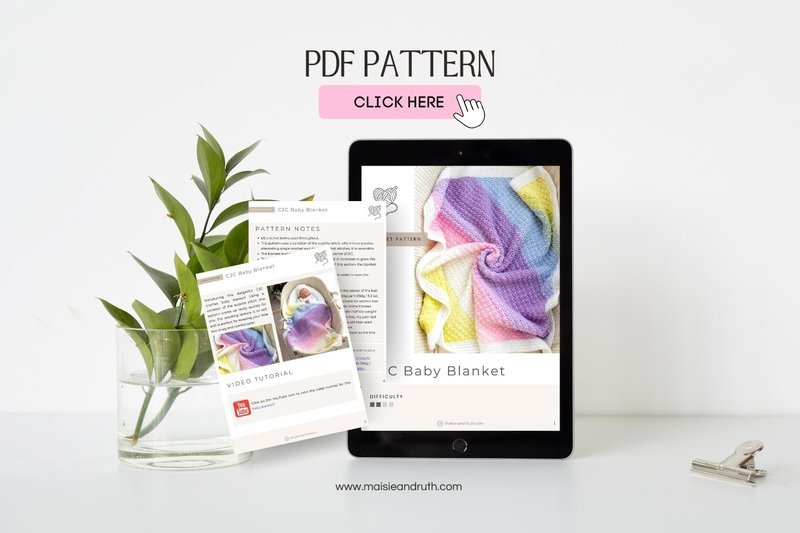
Want an ad-free printable you can pin to the fridge? The PDF version of this pattern is in my Etsy shop — it’s the same pattern, minus the blog clutter.
Style math
A baby blanket like this is the ultimate cost-per-wear win. Two balls of DK yarn, a weekend of evenings, and it gets used for naps, stroller walks, and “where is the striped blanket” requests for years. Buy the trend and it’s one outfit. Crochet it and it’s a whole season of nursery life. Do the math before you buy the next impulse piece.
FAQ
Is this pattern really beginner-friendly?
It’s easy–intermediate. If you can chain, single crochet, double crochet, and do a decrease without panicking, you’ve got this. The C2C shape is new at first, but there’s literally one row to repeat per section.
Can I use a different yarn weight?
Yes — the pattern works in any weight. If you want a bigger blanket, a weight 4 (worsted / aran / 10 ply) self-striping yarn works great; just size up your hook. To match my 24″ / 61cm size, stick with weight 3 DK.
What if I run out of self-striping yarn?
Finish the last rows in a complementary solid — or just use whatever you’ve set aside for the border. The diagonal working hides the color change, so it reads intentional.
A note from Lena: I used to buy the blanket first and ask questions later. Now I make the ones that survive real laundry, real naps, and real opinions. This C2C is that blanket — and it cost me less than one of those impulse “it’ll be cute” purchases ever did.
More slow-style projects: read my guide to building a capsule wardrobe that survives a season, or see my favorite cozy home finds.