
My closet sits next to the printer, so when I printed the tin embossing template that afternoon, it felt almost like cheating. Tape it to the metal, trace the lines, peel the paper off. Twenty minutes later I had Easter ornaments that read intentional, not expensive.
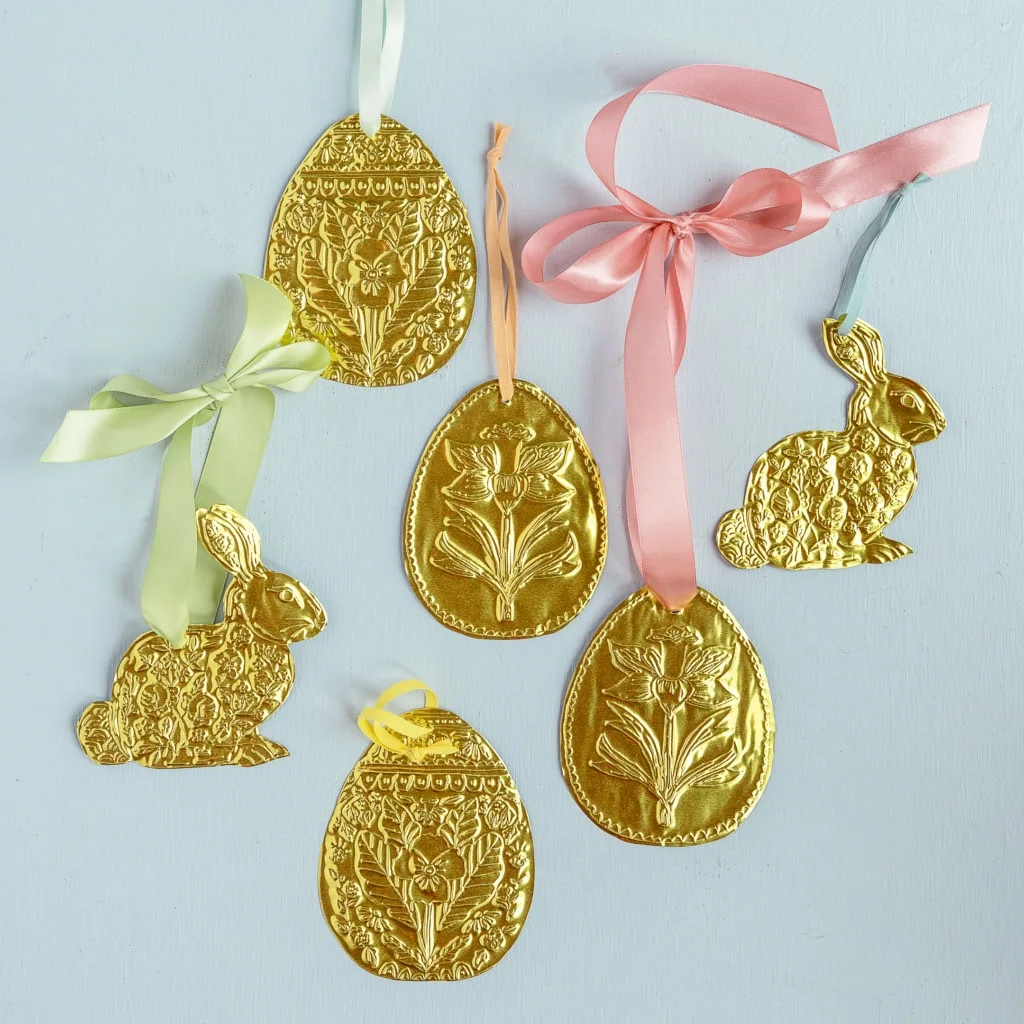
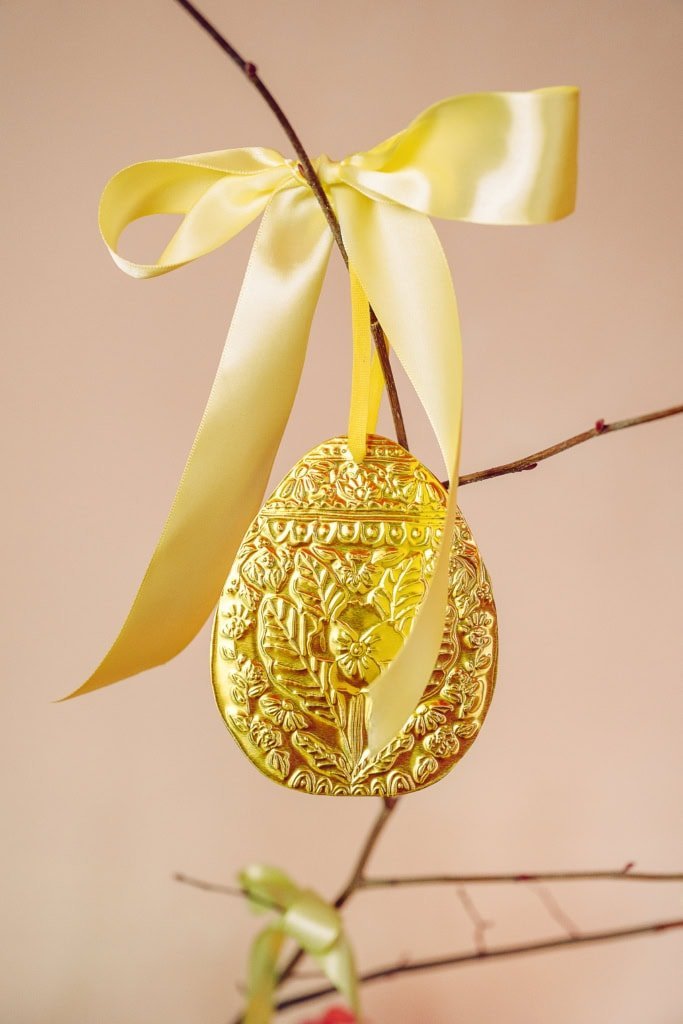
I used to buy the trend first and ask questions later. This project is the antidote: no design decisions, no Pinterest spiral, no guilt. The template does the thinking, and you just get to enjoy the making part. I hung a few of them with pastel ribbon bows on some bare branches by the window, and the corner of my desk stopped feeling like January.
This is also the perfect low-stakes craft for an Easter get-together, a spring brunch, or a quick basket topper. I work with the template on while something plays in the background, and by the time I’m done I have something to give away that looks like I spent an afternoon on it.
What You Need
- the tin embossed Easter ornaments PDF template (three designs, printable)
- aluminum sheet — silver or gold (more on that below)
- a ballpoint pen (yes, the real one)
- a dotting tool, if you want one
- felt or a scrap of fabric
- tape and a hole punch
- ribbon for the bows
Everything here is cheap enough to keep in a craft drawer. No prices attached in this post — it depends where you shop — but nothing requires a splurge-tier purchase.
Silver or Gold: What Actually Works
After testing a bunch of aluminum sheets, here’s the honest breakdown, because most tutorials skip it:
- Silver is the easier metal. It takes the embossing cleanly and holds its lines. If you’re doing this for the first time, start here.
- Gold works, but it’s fussy. The thinner gold sheets I tried were too flimsy and didn’t emboss well. A couple of heavier gold options turned out fine — one ran pricier than the rest, so I’d only reach for it if I really wanted gold.
The takeaways I’d act on: silver for your first batch, a heavier gauge if you go gold, and skip the flimsy sheets entirely. And for the tool — a ballpoint pen genuinely works. I kept a dotting tool on hand for the finer details, but the pen does the trick on its own.

How to Make Them
Step 1 — Prep the template. Print the PDF template single-sided on regular 8.5″ x 11″ (21.6 x 27.9 cm) paper — A4 works fine. Select “Fit” from the page sizing menu so the designs come out the right size. Cut each ornament out, leaving about a 1/2″ (1.3 cm) buffer around it so there’s paper to tape.
Step 2 — Cut the metal. Cut 6″ x 6″ (15 x 15 cm) squares from the aluminum sheet. That’s the size that fits one ornament with room to cut around it.
Step 3 — Protect your surface. Fold a piece of fabric over a few times, or use felt, as your embossing mat. You want something that gives a little, so you can press without marring the table.
Step 4 — Tape and trace. Lay the metal square on the fabric and tape the paper template to it, making sure the whole design sits on the metal with room to spare. Then trace every single line with the pen. This is the only step where pressure matters: too light and the design barely shows, too heavy and you’ll tear the template and lose the fine detail. Medium and steady is the sweet spot.
Step 5 — Peel, cut, punch. Once the whole design is traced, peel the paper off — don’t check the ornament mid-trace, the template can shift. Cut closely along the outside line, then use a hole punch: one hole to tie ribbon through as an ornament, two holes if you want it to lay flat in a garland.
Step 6 — Finish. Thread ribbon through the hole and tie it off. For a garland, string the ribbon through each ornament in a row. I added a few extra bows straight onto the branches — it makes the whole thing feel fuller.
Style Math
Cost per ornament: a roll of aluminum sheet costs a few dollars and gives you a dozen 6″ x 6″ squares, the template is a one-time download, and the rest is tape, ribbon, and a pen you already own. Do the math on a dozen ornaments and it works out to well under $5 each — and they’re yours, not something from a store shelf. That’s the part I’m over: making things that cost less than the impulse I’d have spent on them.
FAQ
Can I really use just a ballpoint pen?
Yes. Medium pressure, steady tracing, and the pen engraves the metal fine. A dotting tool helps with very fine details, but it’s optional.
Silver or gold, which should I buy?
Silver for your first attempt — it embosses more cleanly. Gold works if you pick a heavier sheet; the flimsy ones don’t take the design well.
What’s the project actually for?
Ornaments for branches, a spring brunch table, Easter basket toppers, or small gifts. One batch takes about 20 minutes per ornament, so it’s a good batch project.
A note from Lena: the first time I peeled the template off and saw the design in the metal, I made way too many. That’s the sign you’ve found a craft you’ll repeat.
More from here: see my capsule wardrobe guides for the cost-per-wear thinking behind this, or browse all my DIY posts.