
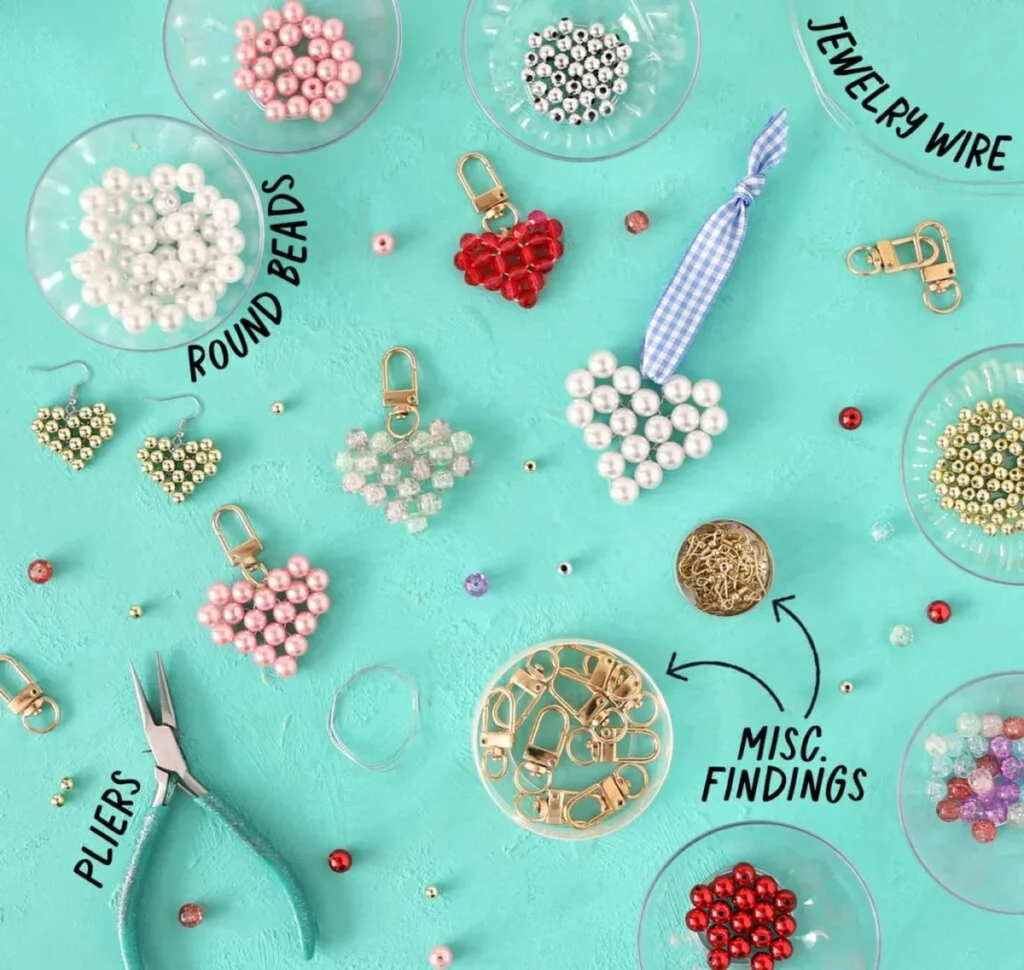
I’m the kind of person who keeps a drawer full of loose beads I bought on impulse three winters ago. Five years of buying for a department store taught me that ‘just one more spool’ always ends up costing more than the bag that holds it. But beads are different. They don’t go out of style, and a beaded heart charm takes less than 30 minutes to make.
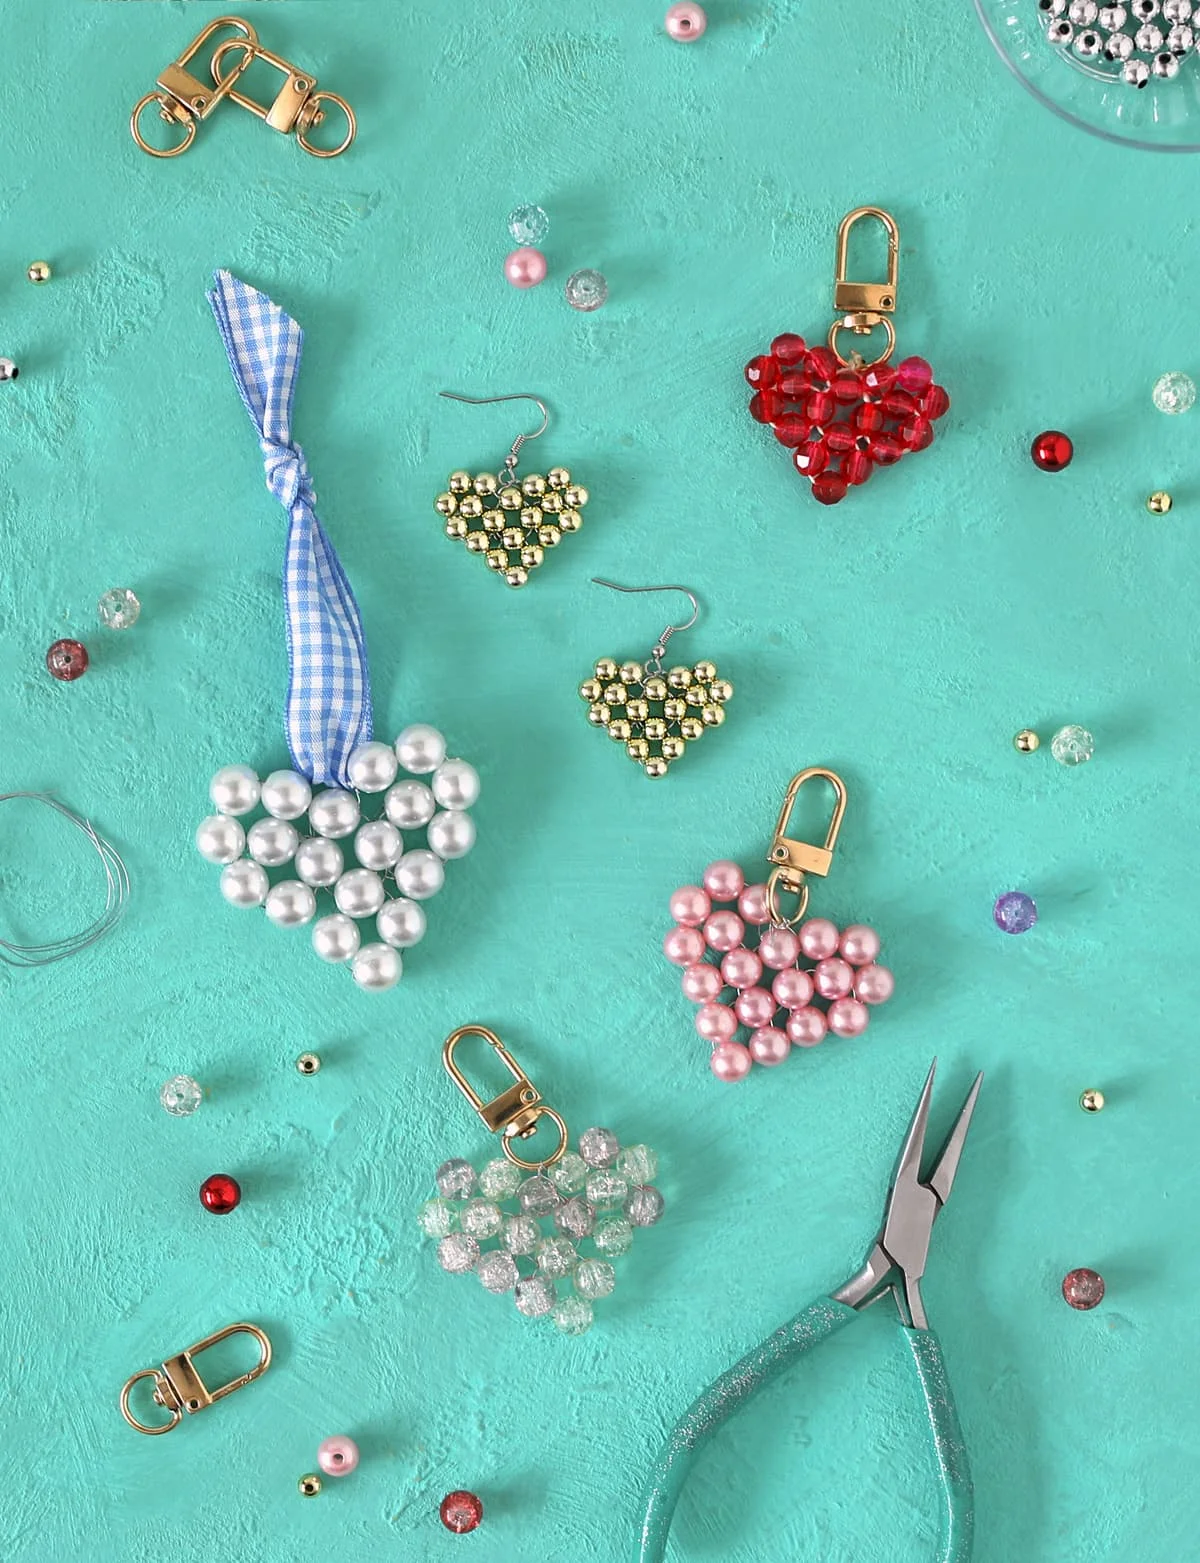
Here’s the thing nobody tells you about cheap craft projects: the ones that actually get finished are the ones where you can see the whole shape in your head before you start. The beaded heart is one of those. Four beads, one wire, and a little patience. Once you’ve made one, you can whip up a pair of earrings, a keychain, or a pendant in one sitting — and the whole thing costs less than a coffee run.
Why a beaded heart works (even if you’re not a ‘crafty’ person)
I used to buy the trend first and ask questions later. In jewelry that usually meant a mall heart that tarnished in a month. The bead version is basically the same silhouette, but you control the scale and the finish. Bigger beads make a bigger heart. That’s it. That’s the whole design system.
You also only need a few supplies, and most of them probably sit in a drawer somewhere. The wire is the one part that matters: I recommend thin 26-gauge jewelry wire, because you’ll be running it through the bead holes several times to close the heart. Thick wire won’t fit and the shape never sits flush.
What you need
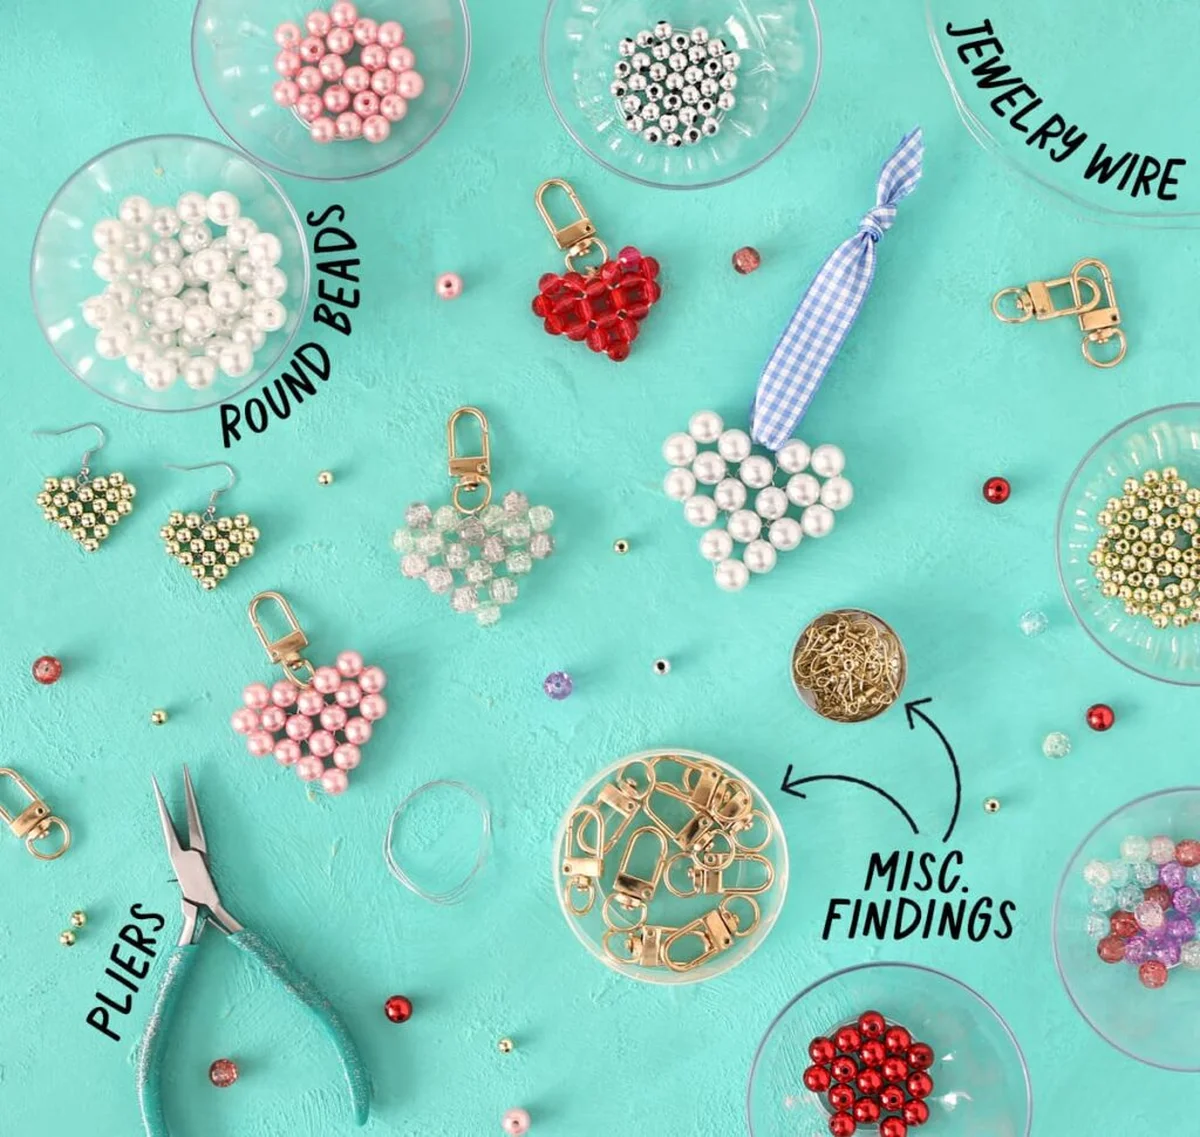
- Round beads — any size, any style, whatever’s in your drawer
- Jewelry wire, 26 gauge (thin enough to pass through the beads twice)
- Jewelry pliers
- Keychain clasps, earring hooks, or other findings, depending on what you’re making
Everything here is budget-friendly; the only rule is that the wire has to be thin. If the bead holes are tight, the design won’t close properly and the heart looks lopsided.
Step by step
This is one of those projects that’s hard to describe in words but obvious the moment you see it move. I’ve included a photo of every step below, plus a color-coded overview so you can follow along at a glance.
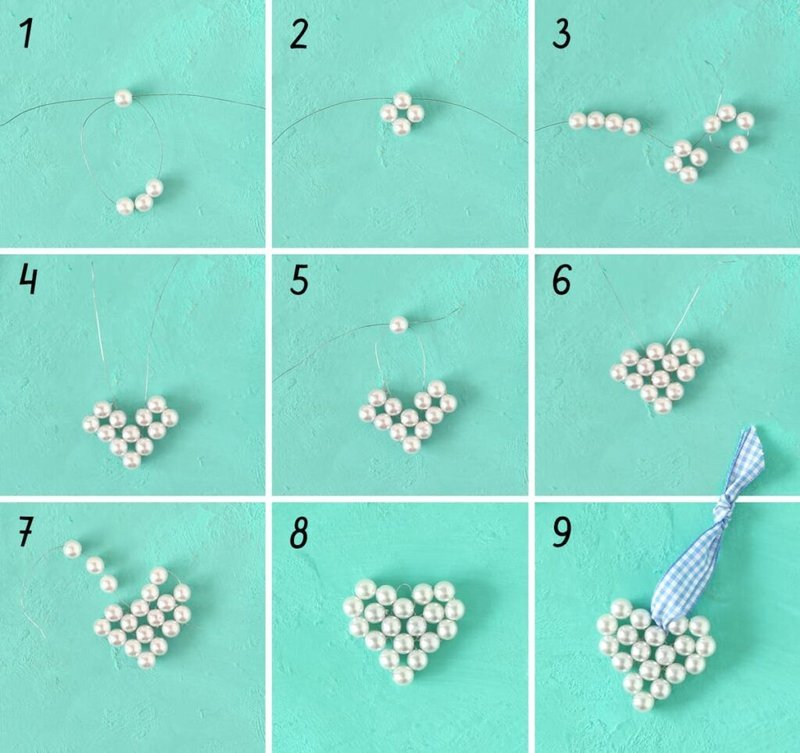
Step 1: Start the base
Cut an 18-24 inch length of jewelry wire. If you’re using extra large beads, cut more; small beads, cut less. You can always trim the end, but you can’t add more mid-project.
String 4 beads onto the wire. Then run the wire back through the last bead, going the opposite direction.
Step 2: Close the loop
Pull the beads tight, keeping the two wire tails even on both sides. Even tension is what keeps the heart symmetrical — this is the step most first-timers rush, and it shows.
Step 3: Build the first lobe
String four new beads onto one wire. Loop that wire back through the first bead you strung and pull until the beads sit flush and all the slack is taken up.
Repeat on the other side.
Step 4: Check your progress
At this point your heart should have three groupings of four beads each. If it doesn’t look even, loosen a bead and re-seat it before going further — it’s much easier to fix now than at the end.
Step 5: Join the center
String one bead on one side of the wire. Then insert the other wire through that same bead, going the opposite direction.
Step 6: Seat the center bead
Pull on both wires until everything sits smoothly. The center bead should lock the two halves together with no gap.
Step 7: Curve the tops
String three new beads onto one wire, then loop the wire end down through the outermost bead. This forms the curved top part of the heart. Repeat on the other side.
Step 8: Weave the ends home
Your heart shape is now complete. Weave the remaining wire ends back through the beads until they reach the top center of the heart — that’s where both wires need to end so you can attach your clasp, hook, or finding.
Step 9: Finish it
Attach your jewelry hardware onto the wire until it’s secure, then trim off any remaining wire ends. Done.
Style Math
Here’s the cost-per-wear math I actually use on these. A small bag of round beads plus a spool of 26-gauge wire is a one-time cost you’ll spend on for years — call it a few dollars per project once you’ve got the basics in the drawer. Against a mall heart that costs 10 times that and tarnishes, the DIY version wins on price and on the fact that it’s yours. If you make one for a gift, you’re giving something that took an afternoon, not a checkout line.
FAQ
Can I use any kind of round bead?
Yes. Any size or style of round bead works — the finished heart will be bigger or smaller depending on what you use. Just make sure the holes are wide enough for your wire to pass through twice.
What if my wire is too thick to fit the beads?
Go thinner. 26 gauge is the sweet spot for most round beads. If the wire won’t pass through, the heart won’t close and the shape will look lopsided.
How long does one heart actually take?
Less than 30 minutes once you know the steps. Your first one will take a bit longer while you get used to the back-and-forth threading — mine did, and I make these for a living, so to speak.
A note from Lena
I made a pair of heart earrings the first time I did this, and they’re the first piece I reach for every February. It’s the kind of small project that keeps you honest about what ‘handmade’ actually costs: an afternoon and a handful of beads. If you love beaded projects, my tutorial on making beaded bows is the natural next step. making beaded bows
Related reading: Capsule wardrobe essentials and Budget jewelry that actually lasts.
Affiliate links may be used in the supply list above.